
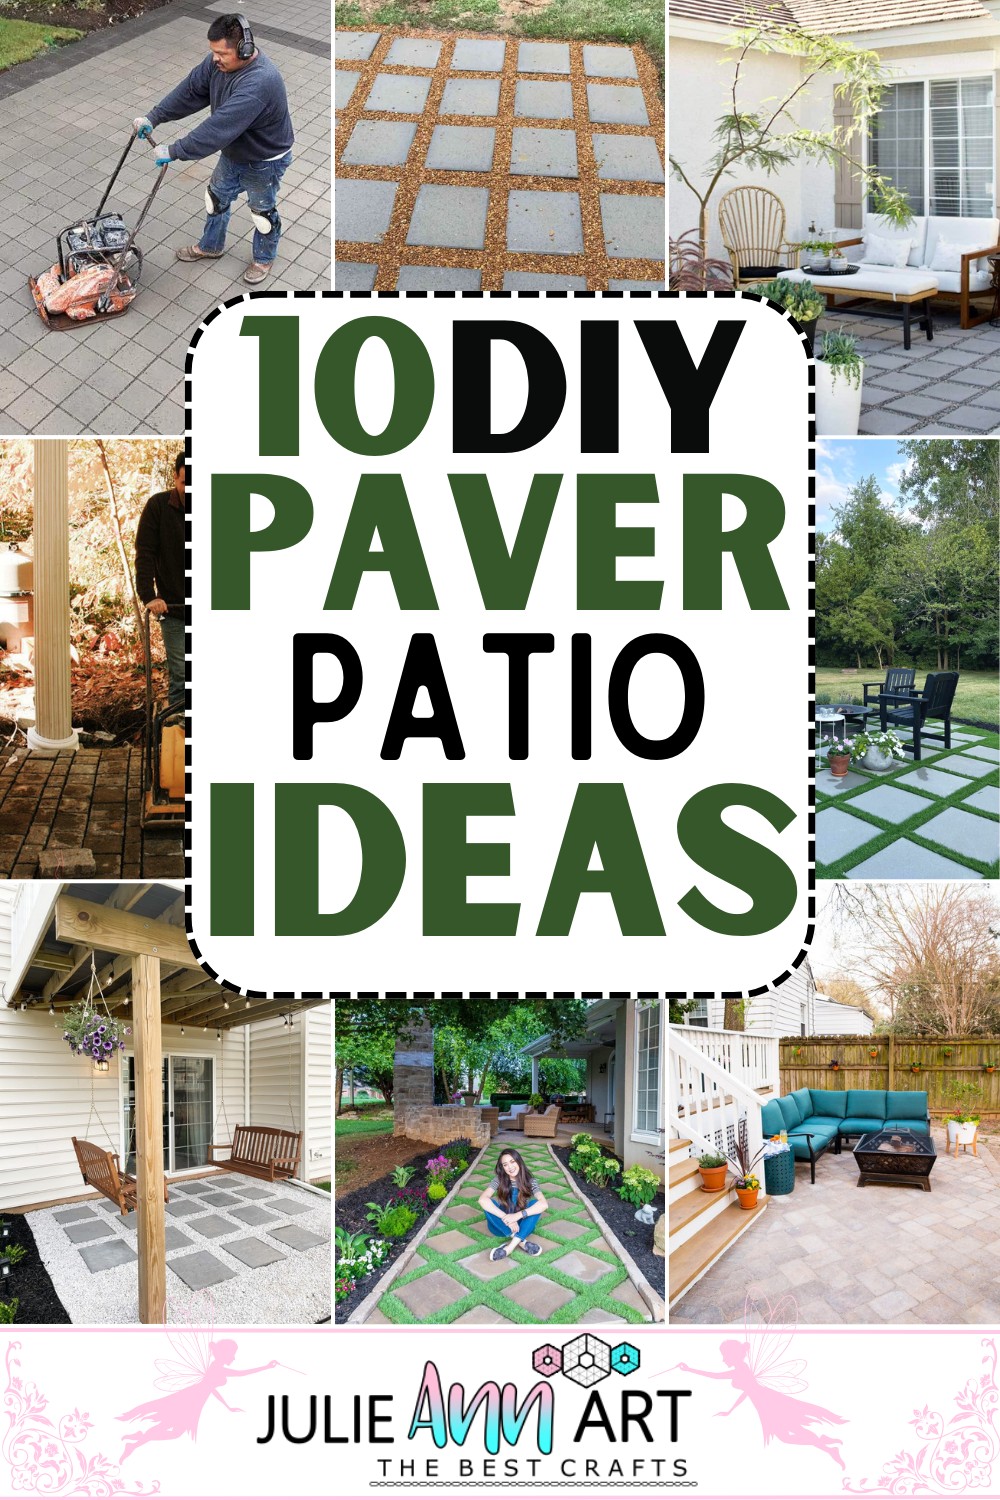
10 DIY Paver Patio Ideas For Outdoor And Backyard
Make your outdoor, backyard, or patio look like a neat, clean block floor by following one of these DIY paver patio ideas. They suit extremely well, especially for those areas with unbalanced ground surfaces and the outdoor areas where we find a lot of grass and other unwanted things.
DIY Paver Patio Ideas
Creating your paver patio is a fun and rewarding DIY project. It allows you to add a personal touch to your outdoor space, making it more inviting. There are many paver patio ideas to choose from. They range from simple designs to more complex patterns, and you can choose one based on your style and yard size. Not only does a paver patio add beauty to your home, but it also increases its value. This article will share some DIY Paver Patio ideas to inspire you to start your own project.
How To Make Paver Patio?
For Making Paver Patio By Yourself Get The Following Materials On Hand:
- Marking Paint
- Masonry or Builder's Sand
- Landscape Fabric
- Landscape Fabric Staples
- Gravel (Crushed Stone)
- Paver Stones
- Plastic Paver Edging
- Spikes (For Paver Edging)
- Broom
- Mallet
- Compactor (Manual or Powered)
- Level
- Shovels and Rakes
- Wheelbarrow or Cart
Making Process:
- Mark your Area: Use marking paint to outline the area of your future patio.
- Remove the Sod: With a spade, remove grass and soil from the marked area to about 7 inches deep.
- Install Landscape Fabric: Cover the excavated area with landscape fabric to prevent weed growth and hold the base. Secure it with landscape fabric staples.
- Add Base Material: Fill the area with a layer of crushed stone or gravel for drainage. Compact this base layer using a compactor.
- Add Sand Layer: Spread a 1 inch layer of masonry sand on top of the gravel and level it.
- Lay the Pavers: Starting from one corner, place your pavers. Use a rubber mallet to tap them down, ensuring they are level. Keep going until the entire area is covered.
- Install Paver Edging: Place plastic paver edging around the perimeter of the patio and secure with spikes to keep the bricks from shifting.
- Add Sand on Top: Spread a layer of sand across the top of the pavers. Use a push broom to brush it into the gaps to lock the pavers in place.
- Compact the Patio: Use a compactor again to ensure everything is even. Add more sand if needed and sweep off the excess.
Build A DIY Patio For Under $120

This amazing project is a testament to the magic of DIY, turning humble materials into a stunning, inviting, and pocket-friendly outdoor oasis.
To create a DIY patio on a budget, first, you must prepare your desired location by removing grass and leveling the ground. Then, gather your materials, which include square pavers and a few bags of pea gravel. Arrange the pavers evenly on the prepared ground and fill the gaps between them with the gravel. You can ensure even gravel distribution with a simple shovel and broom. Lastly, thoroughly rinse your new patio with water to remove any lingering dust or dirt.
Materials:
- Square Pavers
- Pea Gravel
DIY Paver And Marble Gravel Patio With Mulch Beds & Porch Swings

Change your backyard using stone blocks and small stones to make a lovely patio with beds of mulch and porch swings. This project is easy to do when taken step by step and can be done on two weekends. Here is a simple guide to help you through it.
To create this DIY paver, map out your space, remove the grass in the designated area, and install the black edging to distinguish between different areas. Prepare the ground by leveling sand and laying the landscaping fabric. Carefully align the pavers, then plant in the designated mulch beds. Once the bed area is planted, add a layer of black mulch. Finally, perfect your paver placements, fill the gaps between pavers with marble gravel for stabilization and visual appeal, and install porch swings for the finishing touch.
Materials:
- Measuring tool
- Stakes and jute rope
- Shovels
- Black edging
- Landscaping fabric
- Landscaping pins
- All-purpose sand
- 10"x10" tamper
- Rake
- Concrete pavers
- Marble gravel chips
- Potting soil
- Plants
- Mulch
- Porch swings
How To Install A Custom Paver Patio

Upgrade your outdoor space by installing this custom paver patio, perfect for seating, entertaining, and enjoying your yard.
To make this custom paver, dig out the area and level and compact the dirt with a tamper tool. Add a layer of paver base and compact it, followed by a layer of paver sand, which should be leveled using the screening method. Lay the pavers in your chosen pattern, making sure they are level. Compact the pavers using a rented plate compactor to achieve a smooth surface, and finally, apply polymeric sand to set the pavers in place and prevent weed growth in the gaps. With these steps complete, your paver patio will be ready for use.
Materials:
- Measuring tool
- Marking materials (chalk, paint, or 2x4 boards)
- Shovel
- Tamper tool
- Paver base
- Paver sand
- Level
- Standard rectangular cement pavers
- Plate compactor (for rental)
- Polymeric sand (paver set)
- Broom
DIY Paver Walkway

This DIY Paver Walkway project is a remarkable fusion of functionality and aesthetics, demonstrating that anyone can transform their outdoor space into a stunning scenic path with a bit of effort and creativity.
Start with the designated area by clearing any debris and leveling the ground. Then, a layer of paver base is laid and compacted using a plate compactor. Pavers are arranged according to the desired pattern and cut as needed along the edges with a masonry saw or angle grinder. The gaps between pavers are filled with paver sand, again compacted for stability. Landscape edging is installed to retain the layout. The optional step of laying artificial grass between pavers can be done for extra aesthetic appeal.
Materials:
- Shovel, rake, mattock, and a tiller (optional)
- Manual tamper
- Chalk reel
- 14-inch plate compactor (available for rent at The Home Depot)
- Paver stones (e.g., 16x16 Paver step stones in Pecan)
- Paver base
- Paver sand
- Landscape edging and anchoring spikes
- Landscape staples
- Artificial grass (optional)
- 2x4 scrap wood
- Saw with masonry blade or angle grinder
- Scissors, shears, or a utility knife
- Mallet
- Safety gear
Adding A DIY Paver Patio To The Backyard

Following this easier idea, let's grab this opportunity to masterfully craft your backyard space as an investment in your home's appeal and the quality of your outdoor experiences.
To create your DIY Paver Patio, start by marking the desired area in your backyard. Clear the space, remove grass or stones, and ensure the ground is flat and even. Then, secure a layer of landscape fabric with stakes to prevent grass and weed growth. Use crushed gravel or rock to create a stable base, lay down sand, and level it, ensuring it's compact and smooth.
Lay your pavers in the chosen pattern, ensuring they are tightly arranged. Use a rubber mallet to tap them into place and ensure they're level. Fill the gaps between pavers with polymeric sand, sweeping it into the spaces and watering lightly to harden and secure the pavers. Lastly, clean your new patio with a soft brush and enjoy your new outdoor living space.
Materials:
- Paver stones
- Landscape fabric
- Stakes
- Crushed gravel or rock
- Sand
- Polymeric sand
- Rubber mallet
- Level
- Soft brush
- Shovel and rake
- Plate compactor (optional)
- Work gloves
- Safety goggles
DIY Paver & Artificial Turf Patio
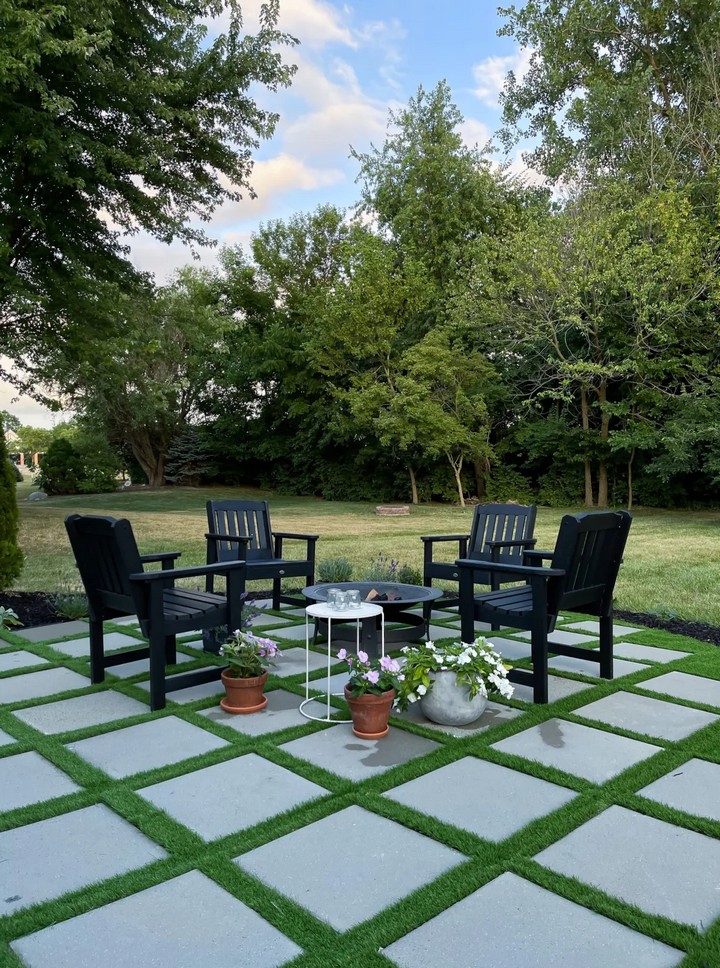
Turn your backyard into an eye-catching space by constructing this DIY Paver and artificial Turf Patio. This amazing renovation project will allow you to save money and inspire you to create a cozy outdoor area your way.
Start by rolling out landscape fabric over the area and secure it with stakes. Add edging material to define the border. Apply flume gravel, forming a stable base, and smooth it out evenly with the rake. Add a layer of base sand and compact it using a plate compactor or a tamping tool. Carefully install the paver stones in your chosen pattern with the guidance of a level to ensure a straight and even surface. Remove any excess base sand. Install the artificial turf, adhering it to the surface with outdoor glue and cutting it to fit your space. Enjoy your beautiful new patio.
Materials:
- Paver stones
- Artificial turf
- Flume gravel
- Base sand
- Landscape fabric
- Stakes
- Glue for artificial turf (if applicable)
- Drainage system material (pipes and crushed stone)
- Edging material
- Hammer
- Level
- Tape measure
- Shovel
- Rake
- Trowel
- Gloves
- Safety goggles
How To DIY A Concrete Paver + Pea Gravel Patio

Bring life to your outdoor space by making this DIY Concrete Paver + Pea Gravel Patio to make your house feel like a pleasant retreat. It will help you sit back and admire the elegance and charm of your new DIY Concrete Paver and pea Gravel Patio.
Making process: Begin by defining the area for your patio, clearing it of any debris, grass, or rocks, and then flattening and compacting the ground. Arrange the concrete pavers on the compacted sand in your desired pattern, ensuring they are leveled using a rubber mallet. Lastly, generously spread pea gravel between the pavers until it's flush with the top of the pavers and sweep to distribute evenly.
Materials:
- Concrete pavers
- Pea gravel
- Building sand
- Landscape fabric
- Stakes
- Edging materials
- Shovel
- Rake
- Rubber mallet
- Level
- Gloves
- Safety goggles
How To Install A Permeable Paver Driveway

Here, you'll find how to green up and style your front yard with a DIY Permeable Paver Driveway. This eco-friendly choice allows water to filter to a stone bed, lowering pollution and flood risk.
Materials:
- Permeable pavers
- Crushed stone
- Gravel
- Geotextile fabric
- Edge restraints
- Hand tamper or mechanical plate compactor
- Paver saw (if necessary)
- Mason's string
- A level
- Gloves and safety goggles
- Stakes
- Shovel
- Measuring tape
- Water jet / powerful hose
To install a permeable paver driveway, test the soil, excavate the area following a slight slope for drainage, and compact the sub-base layer. Cover with geotextile fabric, and add compact crushed stone to form the base. Then, install edge restraints, place the permeable pavers in the desired pattern, and fill gaps with stone. Finally, clean with a water jet to settle the stone.
How To Build A Fire Pit Patio

The Fire Pit Patio project is an impressive blend of aesthetic charm and practical function, turning your outdoor space into an inviting retreat.
To create a Fire Pit Patio, excavate your marked area and prepare a compacted paver base. Assemble your fire pit using split granite stones on the base, fill it with drainage stones, and lay and tamp your bluestone pavers starting from the fire pit's edge. Lastly, fill gaps between the pavers with stone dust and topsoil around the patio edges for a neat finish.
Materials:
- Stakes and string
- Paver base
- Plate compactor
- Granite Stones
- Mini excavator (optional, based on stone size)
- Steel feathers and wedges for splitting stone
- Crushed stone for drainage
- Bluestone pavers
- Rubber mallet
- Stone dust
- Topsoil
- Hose for water
How To Build A Patio In A Weekend

This Patio project beautifully transforms your outdoor space into a practical and inviting entertainment area, showcasing excellent craftsmanship and an appreciation for detail.
You can easily make this patio on the weekend; first, outline the area and remove 6 inches of soil. Create a compacted base using a crusher run or an alternative base material, followed by a 1-inch layer of coarse sand, leveled with the screed technique. Starting from one corner, lay the pavers closely, ensuring they are level. Compact the entire patio, fill gaps with coarse or polymeric sand, and secure the edges using edge material or a concrete berm. You can quickly achieve this DIY project with careful planning and safety precautions.
Materials:
- Nylon masonry line
- Metal spikes
- Shovel
- Wide metal Rake
- Plate Compactor or Hand Tamper
- Fence Pipes
- Trowel
- Level
- Rubber mallet
- Edging material
- Pavers
- Crusher run or other base material
- Coarse Sand or Polymeric Sand
You can also see:
- DIY Plant Stand Ideas: Looking for a stylish, one-of-a-kind way to show off your favorite plants at home, on your balcony, porch, or even inside? Check out this great list of DIY plant stand ideas that have something for everyone!


