10 Cheap And Simple DIY Wood Craft Ideas
Let's explore the fun collection of DIY wood craft ideas, where creativity and resourcefulness come together to create stunning and functional pieces for your home! You may find the limitless possibilities of repurposing reclaimed materials and enhancing your living spaces with projects customized upto your style. From fun and amusing entrance displays and rustic bathroom shelves to captivating chevron reclaimed wood beds, these ideas have immense potential to transform your home while being budget-friendly. So, follow our suggestions here, and you'll see how easy it is to make exceptional wooden decor with your hands.
DIY Wood Craft Ideas

Imagine spending a delightful afternoon transforming simple wood into artistic treasures following the super easier guide we provided. Whether it's turning old barn wood into a cozy bench or fashioning horseshoes into whimsical bathroom accents, our given wood craft ideas are not just rewarding; they're a lot of fun. Each project will be an accessible adventure with our easy-to-follow ideas that lead to extraordinary outcomes. You'll find joy in working with wood, which is only amplified by the fact that you're making something truly unique. So, gather your tools and let your imagination bloom with these fun wood crafts.
DIY Wooden Serving Tray

Creating a DIY wooden serving tray is an enjoyable project requiring simple steps. Begin with two identical-thickness hardwood pieces, wood glue, and clamps. Attach the wooden pieces and let them dry. Once dry, cut the wood to equal lengths, sand it smooth, and wipe off sawdust with mineral oil. The next step is to cut your preferred trim (the trim is like a frame around your tray), making sure to angle the corners for a seamless fit. Secure it to the tray, allow it to dry, then wipe down the entire piece with food-grade mineral oil such as butcher block. This keeps the wood from drying and cracking and brings out the natural grains for an appealing finish.
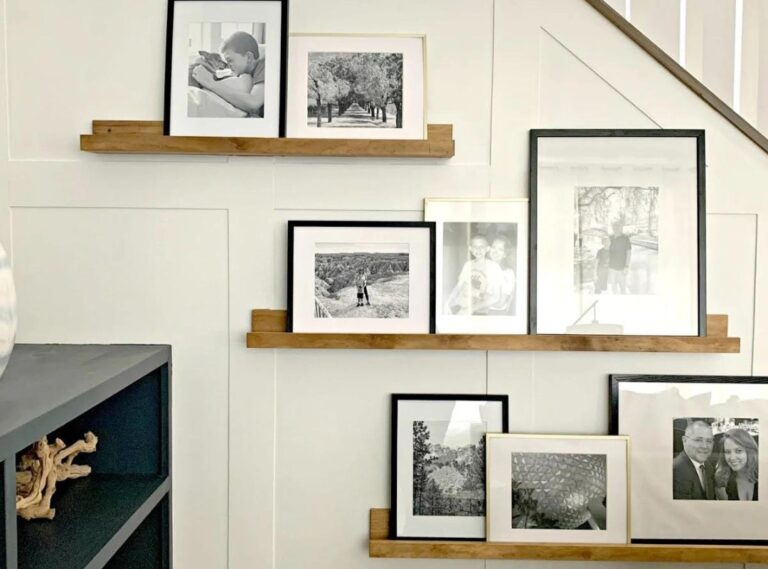
DIY Decorative Wooden Houses From Scrap Wood

Make charming DIY decorative wooden houses with simple materials like leftover fence posts or 2x4 pieces, acrylic paint, craft sticks, and essential tools is easy. Start by defining the sizes of the houses and crafting distinct rooftop angles. Sand the edges for smoothness, paint the roofs black for a vintage feel, and leave some bare to maintain a rustic appeal. Use black-painted craft sticks to mimic windows and doors, securing them with hot glue. Decorate these homes on a mantel or as a table centerpiece for a rustic touch. Add white paint or sprinkle Epsom salt on the roofs for a wintry sparkle.
How To Build A Wooden Chest

Put your hands on this fantastic wooden chest project for Cub Scouts and beginners looking to develop woodworking skills. To begin, acquire the following supplies: 182" of 1" x 8" pine, 78" of 1" x 4" pine, 8" of 1" x 2" pine, seventy-six 8d nails, three 3d nails, four 2" screws, 36" of ⅜" rope, and two 1 ½" butt hinges. Start by pre-cutting wood pieces to size and pre-drilling pilot holes for nails. Assemble the chest by connecting the wood pieces with nails and screws. The rope serves as the handle, and the butt hinges attach to the lid. Your local Scouts BSA troops can be an excellent resource for assistance in building the chest.
Scrap Wood Projects

If you're looking for a fun and simple project to utilize your leftover wood scraps, look no further than this amazing project. The DIY Wooden Cats project is an innovative way to transform scrap wood into cute decorative objects. Start by cutting your scrap wood into triangles and gluing them together to form the cat's face. Once dry, paint it black and let it dry. Use a machine to cut out the cat faces from glitter vinyl - you can access a pre-made file for the faces here. Once cut, use heavy-duty transfer paper to apply the vinyl face to the wooden cat figure. With this project, cat lovers can have their feline friends around all year, and everyone can enjoy a quirky little addition to their décor.
DIY Cutting Board Squares

This DIY cutting board starts with a design on graph paper, where different types of wood represent different colors. The process involves cutting, planning, gluing, sanding, and using tools like table saws, planers, clamps, chisels, and materials such as wood, glue, sandpaper, and butcher block oil. Wood blocks are cut, glued, clamped according to the design and then sanded for a smooth finish. Finally, apply butcher block oil for a polished and food-safe surface.
DIY Rustic Wood Projects For Your Bathroom

Transform your bathroom with rustic charm through easy and inexpensive DIY wood projects. Create a customizable storage ladder from spare beams to fit your bathroom space. Build a bathtub caddy from leftover 1x4s to hold bath essentials and a wooden valance carved into your desired shape for added character. These projects breathe new life into your bathroom on any budget while being environmentally friendly by repurposing unused materials.
Table Top Herb Garden

Welcome the lush greenery of spring into your home with this compact tabletop herb garden. An affordable and enjoyable project made by transforming an old pallet into a functional and decorative piece for your kitchen. You'll need scrap lumber, paint or stain, a pair of handles, mason jars, potting soil, and your favorite herbs or seeds. Short lengths of wood are cut, assembled into a box, and painted or stained. The handles are then fixed, and mason jars filled with soil and herbs are arranged. This stunning DIY project adds a splash of spring to your kitchen while providing a handy supply of fresh herbs.
Branched Front Door

Add a touch of nature to your home's entrance with a DIY branched front door, barn wood bench, and wooden mat made from repurposed materials. Start by refreshing your front door with a vibrant shade of green to complement the natural theme. Prepare the door by cleaning, sanding, and applying two layers of paint. Next, create a rustic mat by binding four wooden planks together with twine and add a personalized greeting. Construct a simple yet functional barn wood bench using a large plank for the top, four leg posts, and screws to secure it together. Enhance the area with personal decorative touches like natural old branches, birdhouses, or your favorite knick-knacks to complete your unique and enchanting entrance display.
DIY Horseshoe Rustic Bathroom Shelf

Create a unique rustic charm and additional storage in your bathroom with a DIY Horseshoe Bathroom Shelf. This one-of-a-kind project is made from reclaimed cypress wood and genuine horseshoes, transforming simple storage into an interesting focal point. The process includes measuring, cutting, and attaching wood to a shelving unit before giving it a stained finish. Adding horseshoes as front-facing towel holders or space dividers gives this unit a southwestern flair. For those often on the move, securing the shelf directly to your wall is recommended. While it's the perfect addition to any bathroom, it can also find its place in other areas of your home or even be repurposed as a unique wine rack.
Chevron Reclaimed Wood Bed
![]()
Add a stunning, rustic touch to your bedroom with the DIY Chevron Reclaimed Wood Bed, a unique project inspired by high-end designs without a hefty price tag. Made from reclaimed wood, plywood, spruce studs, and a mix of stain colors, this bed frame features a stylish chevron pattern that is both practical and visually striking. Metal bed rail brackets ensure the frame can be efficiently assembled and disassembled, making it perfect for those who move frequently or appreciate modularity. With instructions covering measuring, cutting, staining, and assembling, this project achieves an authentic reclaimed wood appearance using various stain colors like Provincial, Special Walnut, Early American, Ebony, and Weathered Gray. Channel your inner carpenter and start building this distinctive, budget-friendly addition to your bedroom.